Automate the Execution of Python Scripts With Microsoft Windows Task Scheduler
In this tutorial, we will learn how to automatically execute Python scripts using the Microsoft Windows Task Scheduler. For simplicity, we choose to use a Python script that simply writes to a text file, the date and time that the script executes, every time it gets executed.
Create a new, empty text file anywhere on your local Windows machine. Let’s call the file ‘Output.txt’. I have chosen to create the file in the path ‘C:UsersUserSSDesktop’. In the same path, we have our simple Python script. Let’s name it ‘AutoSchedule.py’.
NOTE: All references to the path ‘C:UsersUserSSDesktop’ should be replaced by the correct path entry on your local Windows machine.
The Python script contains the following few lines of code (see Figure 1).
import datetime
import os

Change_Directory = os.chdir('C:\Users\UserSS\Desktop')
OutputFile = open(r"C:UsersUserSSDesktopOutput.txt","w")

current_time = datetime.datetime.now()

Text_to_be_written1 = "Date and Time that the Python script has executed: "
OutputFile.write(Text_to_be_written1)
Text_to_be_written2 = str(current_time)
OutputFile.write(Text_to_be_written2)
Figure 1. Python script lines of code
Next, we will turn the Python (.py) script into an executable (.exe) by utilizing a Python package called PyInstaller. You can install PyInstaller by executing the command ‘pip install pyinstaller’.
To create the executable, execute the command ‘pyinstaller –onefile {FILE_NAME}.py’. In our case, we need to execute the command:
pyinstaller --onefile "C:UsersUserSSDesktopAutoSchedule.py"Upon successful execution of the command, the following two lines displayed at the end of the command output are of interest to us.
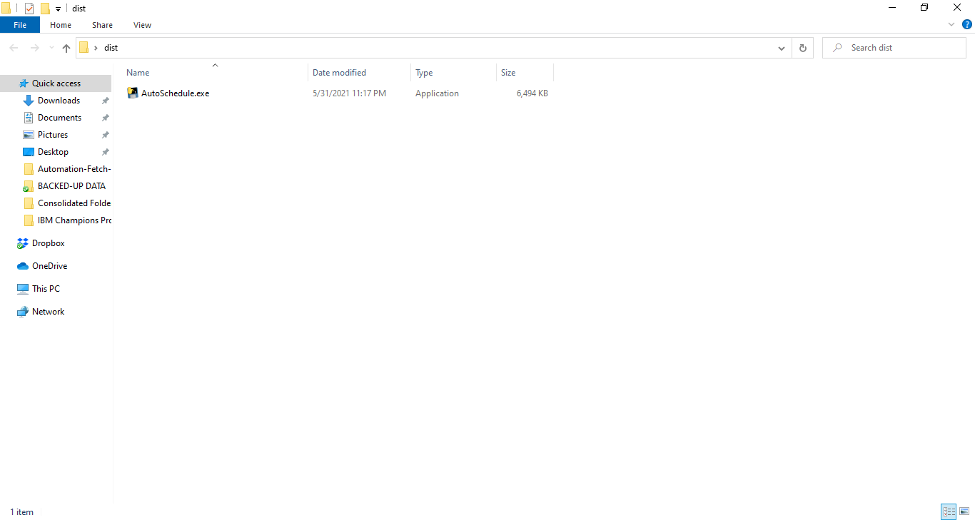
INFO: Appending archive to EXE C:UsersUserSSDesktopdistAutoSchedule.exe
INFO: Building EXE from EXE-00.toc completed successfully.
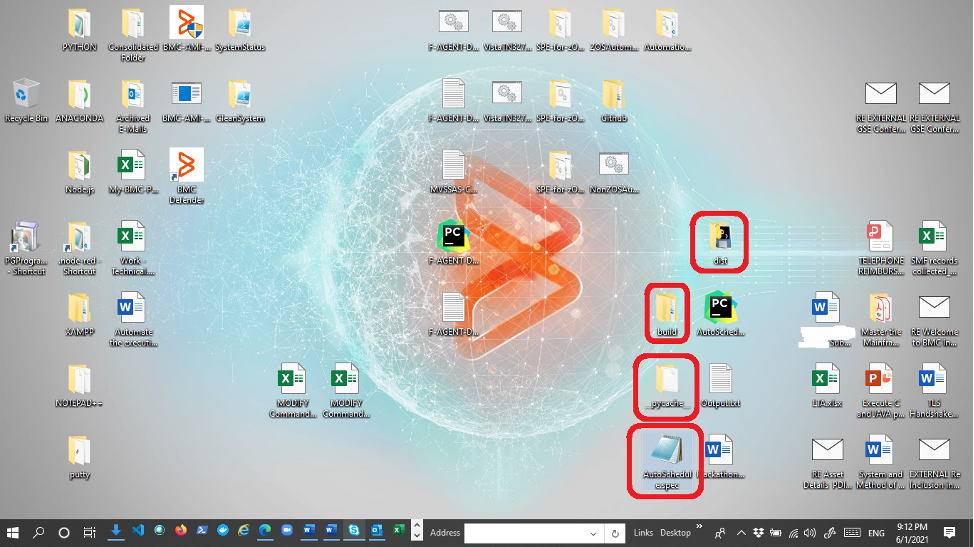
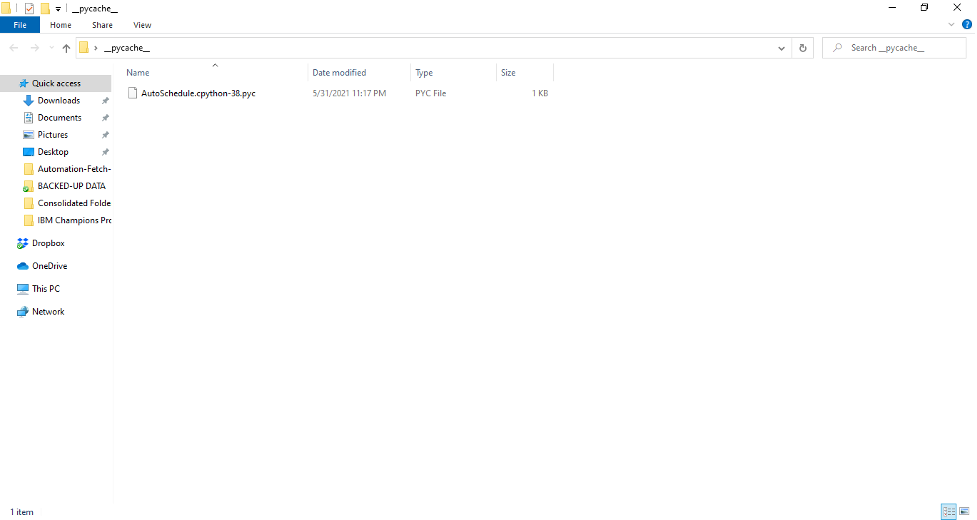
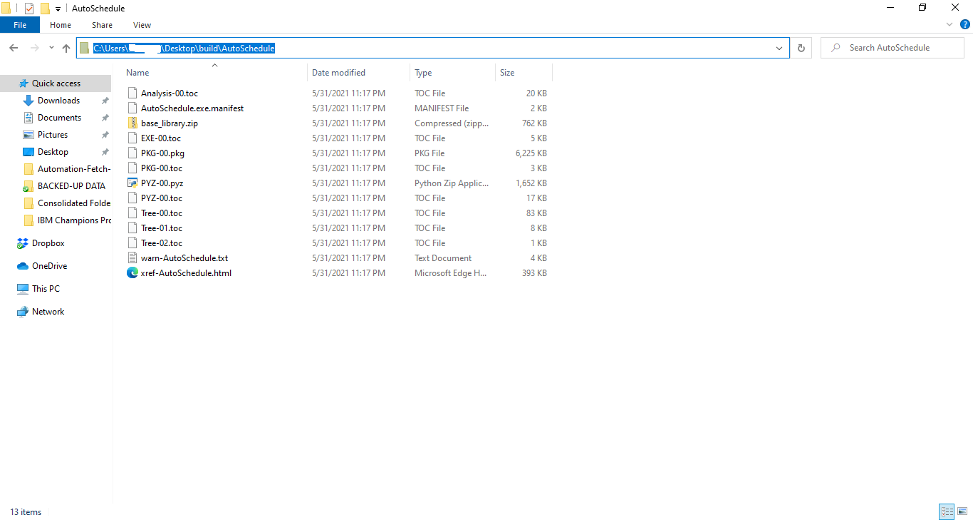
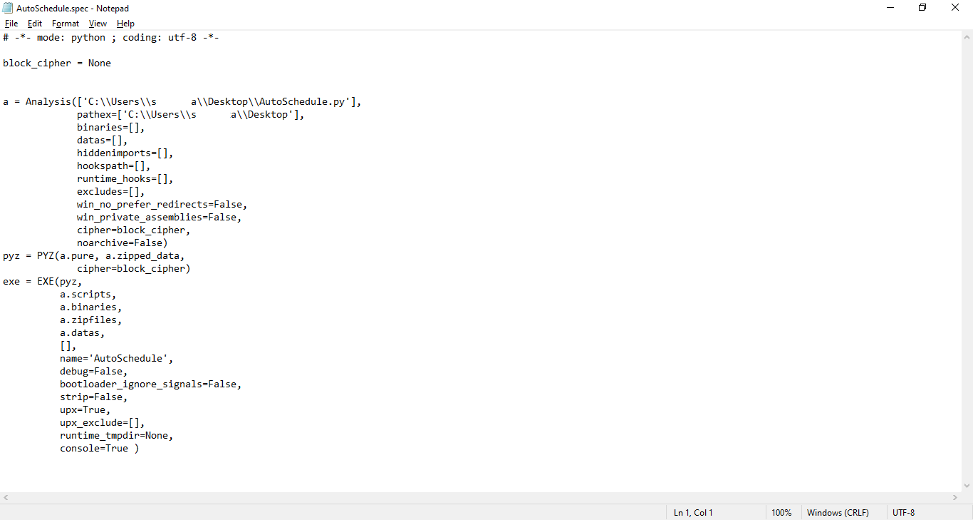
‘C:UsersUserSSDesktopdistAutoSchedule.exe’ denotes the path where you can find the executable.When the executable has been created successfully, three folders, namely, dist, __pycache__ and build, along with a ‘AutoSchedule.spec’ file, will exist at the path ‘C:UsersUserSSDesktop’ (see Figures 2-6).
Let’s say, we have decided that the Python script should get automatically executed every two minutes. We will make use of the ‘SCHTASKS /CREATE’ command to achieve this. You can learn more about the options to create a scheduled task by running the SCHTASKS /CREATE /? command in the Windows Command Prompt.
Let’s create a .bat file named ‘AutoSchedule.bat’ in the path ‘C:UsersUserSSDesktop’. The content of the .bat file should be:
SCHTASKS /Create /SC MINUTE /MO 2 /TN AutoSched /TR C:UsersUserSSDesktopdistAutoSchedule.exe /F
As you can probably understand, the batch script executes the executable that we had created previously and the frequency of execution of the executable is every two minutes indefinitely.
It is now time to execute the batch script, ‘AutoSchedule.bat’. After the batch script has executed successfully, you should be able to see output like the one shown below.
C:UsersUserSSDesktop>AutoSchedule.bat
C:UsersUserSSDesktop>SCHTASKS /Create /SC MINUTE /MO 2 /TN AutoSched /TR C:UsersUserSSDesktopdistAutoSchedule.exe /F
SUCCESS: The scheduled task “AutoSched” has successfully been created.
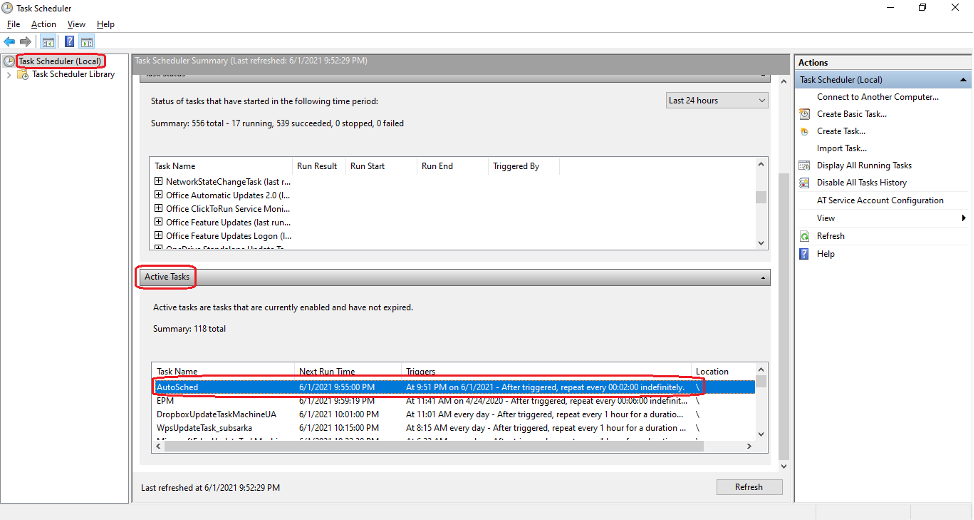
The ‘Success’ message clearly tells us that a scheduled task named ‘AutoSched’ has been successfully created. To view the scheduled task ‘AutoSched’, we will use the Microsoft Windows Task Scheduler Graphical User Interface (GUI) (see Figure 7).
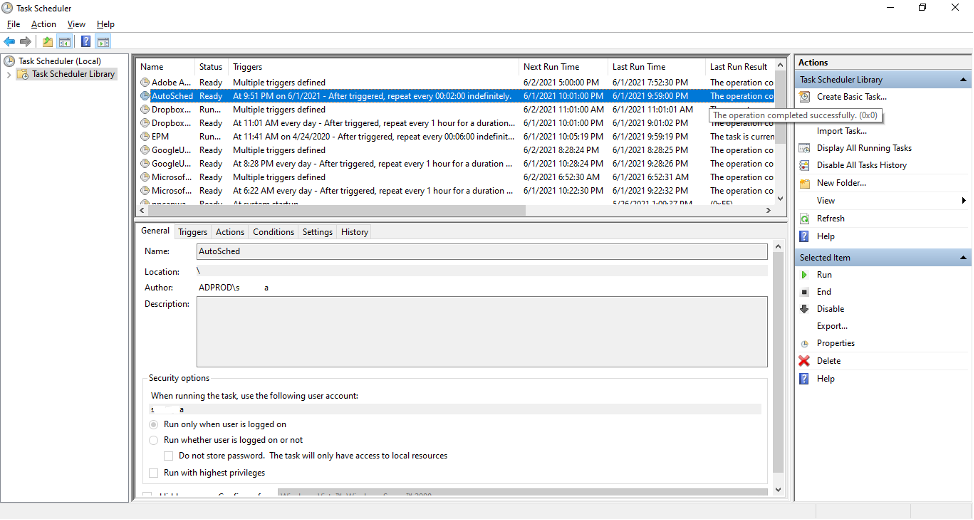
Double click on the Task Name entry for the scheduled task ‘AutoSched’ (see Figure 8).
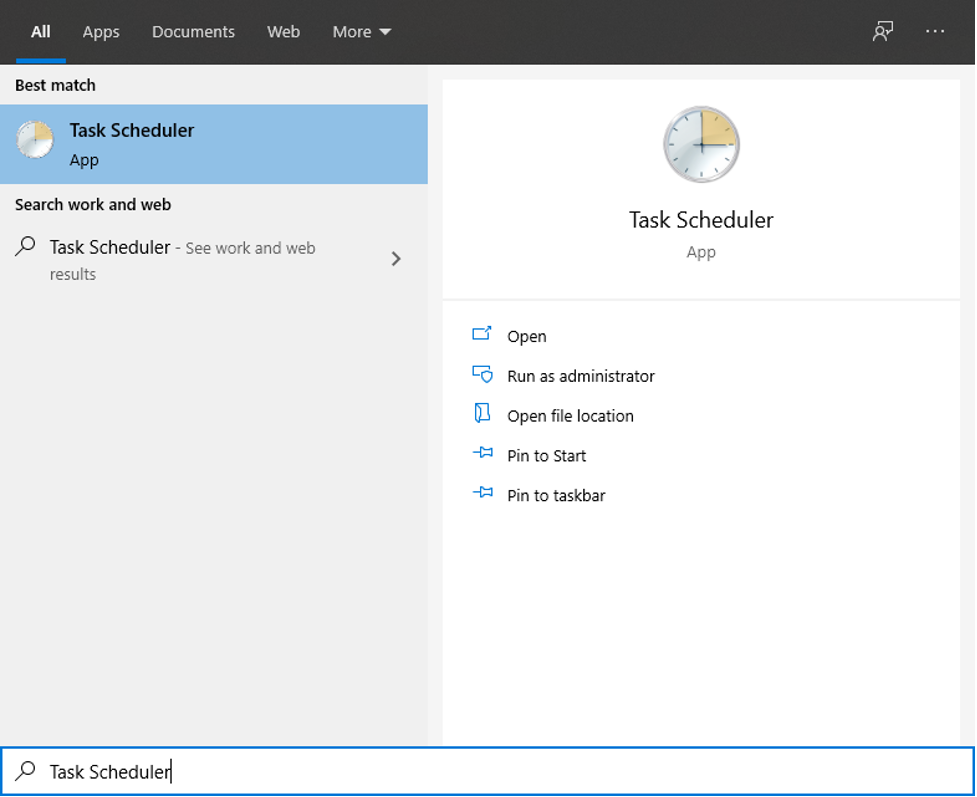
To use the Microsoft Windows Task Scheduler GUI, search using the words ‘Task Scheduler’ (see Figure 9).
To confirm that the scheduled task ‘AutoSched’ is executing every two minutes, check the message in the ‘Output.txt’ file.
Date and Time that the Python script has executed: 2021-06-01 22:09:01.613789
The time portion should be updated every two minutes as the Python script completes successful execution every two minutes.