Message Monitors in New Navigator
IBM is updating New Navigator (New Nav) on a regular basis and there are a lot of enhancements that have been added over the past few months. This post highlights new functions in Message Monitors. IBM’s documentation on Message Monitors overview has complete details.
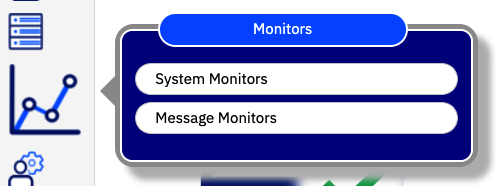
You find Monitors in as shown in Figure 1:
Message Monitor Enhancements
Message Monitors in New Nav are very similar to Message Monitors in Heritage Navigator, but the following features have been added in New Nav Message Monitors:
- Additional predefined message sets. You can now easily monitor messages for job capacity and limits, SQL system limits, licensing expiration and usage limits, and more.
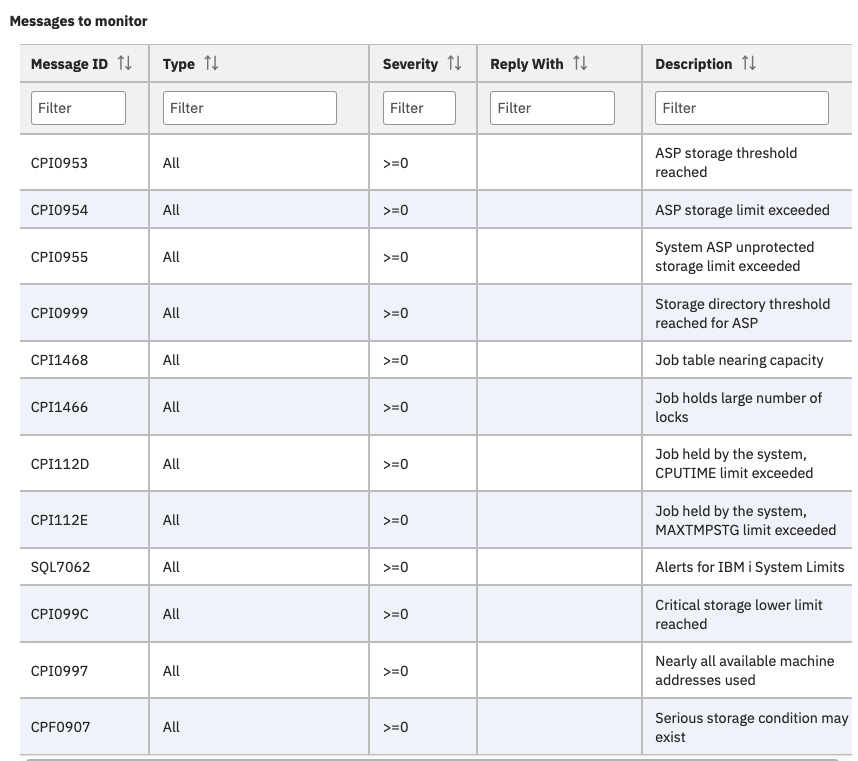
- There is now a Description column for each message that is added to the monitor. This allows you to know what the message is for without doing a DSPMSGD to review the first level message text. The message description is only available for the predefined message sets; I’ll request that IBM add the option for a description for specific messages added to a monitor.
- A replacement variable has been added for &MSGTEXT
- You can now change the owner of a monitor by editing the monitor with a different user profile. The General tab features a new option, Owning user profile, allowing you to change the owner to the user modifying the properties.
Figure 2 below shows a list of messages to monitor and you can see the new Description column.
Copy to System
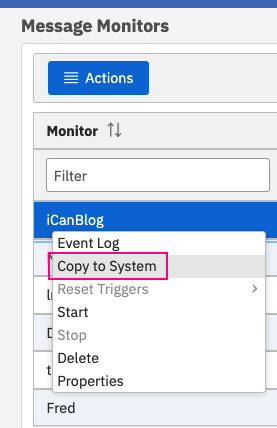
The Copy to System action allows you to create and test a monitor on one partition, and when you have it working as desired, you can simply copy the monitor definition to other partitions rather than manually creating them. This is very similar to the Copy to System function in Heritage Navigator.
Figure 3 shows where you find Copy to System.
Migrate Heritage Monitors
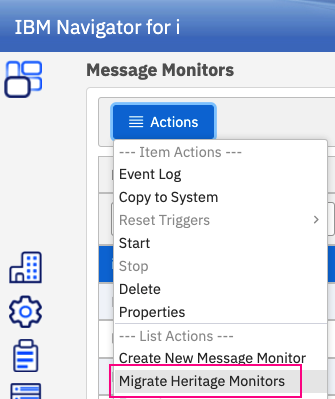
Both message monitors and system monitors have an action to Migrate Heritage Monitors. If you created monitors in Heritage Navigator, those existing monitors do not show up in New Nav. The Migrate Heritage Monitors action allows you to bring the heritage monitors over to New Nav. When you select this action, it will display all the monitors previously created in Heritage Navigator and you simply select which monitors to migrate. This saves you the effort of having to review the details of what had been set up and manually recreate the monitors. This feature works flawlessly.
Figure 4 shows the Actions drop down for the Migrate Heritage Monitors action.
A final observation on working with Message Monitors in New Nav: The user interface is much faster when compared to the Heritage Monitors!
Heritage Navigator No Longer Started by Default
Finally, I want to mention that with the PTFs from this past February, Heritage Navigator is no longer started by default. This is a good change as we should all be using New Nav. That said, there are still some things missing from New Nav and you may have a need to use the Heritage Navigator from time to time. I recommend only starting the Heritage Navigator when needed and ending it when the tasks are complete.
Also, with these latest PTFs, the default URL for New Nav is the well-known URL of: http://hostname:2001
To review all of the latest updates for New Nav, see PTF details page. For information on PTF numbers and group levels, see the New Nav PTF updates page.